Worldwide Pinhole Photography Day 2021

Our second pinhole day with Covid restrictions!

Members Competition 2021.
Entries by midnight 24th April. Anonymous independent judging, prize £50 photo materials voucher. Any pinhole process (sieve, zone plate, solargraph, camera obscura photo etc.) made between January 2021 and 24th April. Submit one entry per person by email. (Digital file 1800px max side preferred ). Winner announced on pinhole day. In the event that any of the organisers photos are selected – the prize will go to runner up.

On Sunday the 25th we will celebrate the simplicity of camera vision with a hybrid day of virtual chats and a socially distant photowalks. Join in online, outdoors or go your own way!

10am Coffee Chat – online.

11am Socially Safe Sakura Search – outdoor photowalk in the Meadows, Bruntsfield.

6pm Wrap Up – online. Competition winners will be announced.

Submit any pinhole photos taken on the 25th to the Edinburgh Lofi gallery group by June 30th 2021.

March 2021

This month we have been discussing :

The Hexham Photography Group have Doug Chinnery giving an online talk this month.

Stereo camera conversations continue – the Sputnik and two hacked Lubitels on trial. Reminiscing over old Stereo Realist cameras and Viewmaster reels.

Sputnik Stereo Camera

110 cameras with some lovely examples on Chris Osborne’s site https://cjo.info/classic-cameras/pentax-auto-110/

Some surreal moments on flash bulbs!

1890’s spy camera and early street photography article.

Cyanotyping on maps and speed formulas for in camera cyanotype processes.

How minature can collodion plates go?

Chromatography.

chemical hand photogram - Ali Miller
LoFi Members Resource Directory now set up

Our next online meetings are April 13th from 6:30pm, April 25th for pinhole day activities (10am virtual coffee, 11am socially distanced sakura photowalk and 6pm virtual wrap up and competition results) and April 28th from 10:30am. Send us an email or DM on Social Media to get added to our virtual world.

Hacked

Few things are as satisfying for the LoFi photographer as producing a compelling image using a cardboard box and some leftover instant coffee!

This months online exhibition celebrates hacked cameras, processes and prints.

Coronadol processed negatives, laid on white screen of tablet for makeshift light table inverted on iPhone. Brittonie Fletcher, 2020

Click through to the gallery – more work will continue to go up over the month of July.

Hacked Gallery (Click to enter)

Join us in August for Let There Be Light – Part 2.

Featured Image: Through the Dishwasher, Mandy Kerr.

WPPD 2016 – Matchbox Pinhole

A simple 35mm film camera can be made from just some card and tape.

Matchboxpinhole1

To make a matchbox style pinhole camera you will need

A piece of A4 card – preferably black. (Paint black or cover with black tape if not.)
Download the PDF template and print.
Scissors.
Clear tape.
Black electrical tape.
Good quality tinfoil.
A hole punch or sharp knife.
A needle of suitable dimension to make the pinholes.
Masking/re-positionable tape.
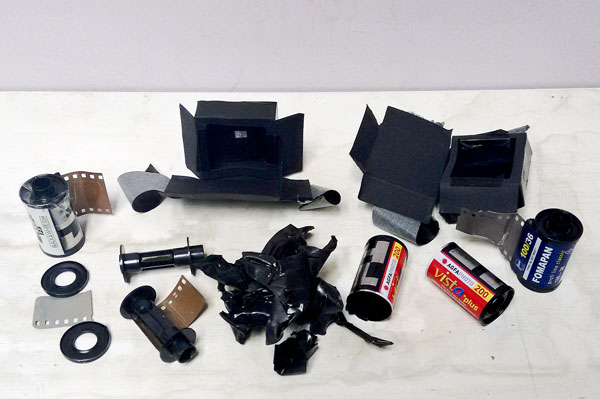
A 35mm roll of film.
An 35mm used film spool or sacrificial roll.

Do some simple pinhole maths –
Focal length of lens (the depth of matchbox) = (diameter pinhole) X (diameter pinhole) X 750
√(15/750) = 0.20mm (~ A size 14 beading needle was the closest size to hand.)

Start by tracing the template onto black card and cutting out.
Cut the window for the film and the window for the pinhole.
Fold along the score lines.

Take the piece of tinfoil and make the pinhole using the needle. Use tape to stick it to the inside of the box so the pinhole is in the center of the pinhole window you have made.

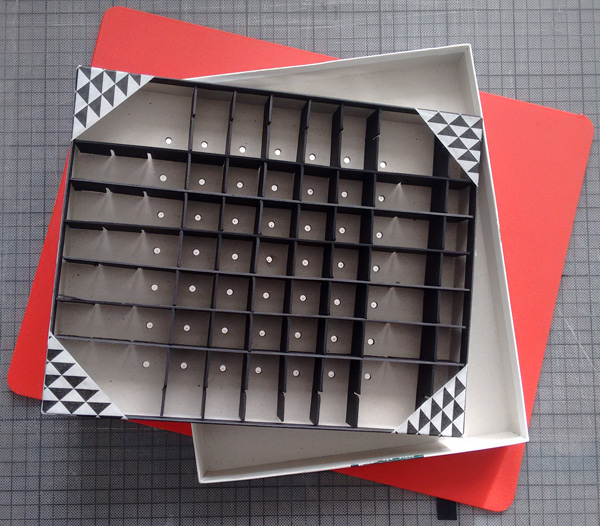
Take the new roll of film and attach the film using clear tape to the used film spool. You may find it easiest to just sacrifice a film (Agfa £1 from Poundland!) by un-spooling it until almost the end, cutting off the film to leave a few centimeters sticking out. You can then tape the end of the ‘good’ film to the tail. It is also possible to reassemble a used spool if care was taken prising it apart. Ensure the films are together straight or you will have problems winding on. Wind the film in until you can not see the tape. Only try to expose the film strip where you will be putting the ‘matchbox’. (To use a real matchbox thread the film through then attach to other spool and put the drawer back in after cutting a window for the film in the bottom).

Put the side labelled ‘back’ at the back of the film, use some re-positionable tape to get the spools lined up.
Fold the box round so the film window sits in front of the film. Use some re-positionable tape to get the box squared up with the spools.
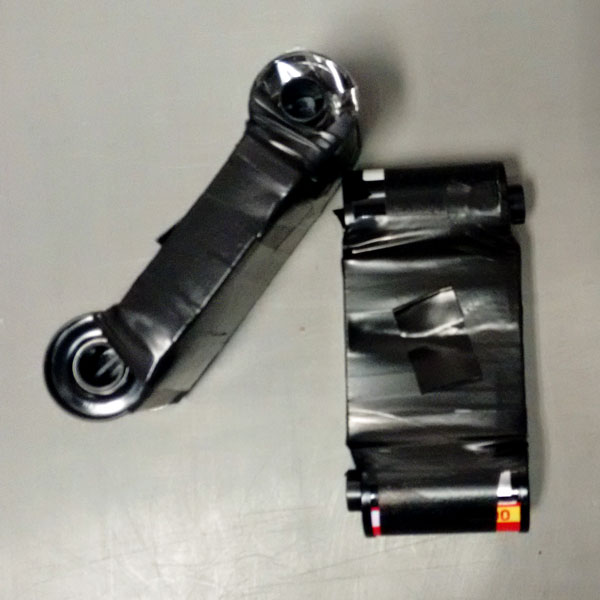
Use black electricians tape wrapped around everything (except the pinhole and the moving parts of the film spools!) to light proof.

wrapped

Wind the film on into the take up spool using a lolly stick or key in the top of the spool. 2 full rotations per frame at first, decreasing to 1 as you get towards the end ( the film taken up expands the diameter and therefore the length moved at each turn). If the film sticks use the stick/key to loosen the other spool and then take up the slack with the other.

Make a shutter for the pinhole with a piece of black electrical tape.

To take photos wind the film on. Brace the camera on a wall/table/post if possible to keep it steady and peel off the tape. Replace the tape when finished. (For very short exposures peel the tape and replace it with a finger. Expose for shot then put your finger back and ease the tape back into place as you move your finger out the way.)

When the film is finished wind it back into the original cannister and cut the spool from the camera. Make sure none of the tape is left on the film to be processed.
matchbox

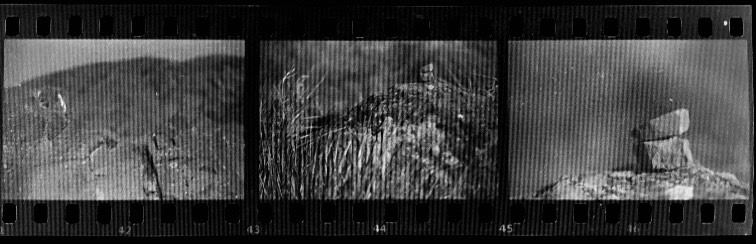
You may wish to warn the film processor that the frames are likely to be unevenly spaced. Most will be happy to return the film uncut for scanning.

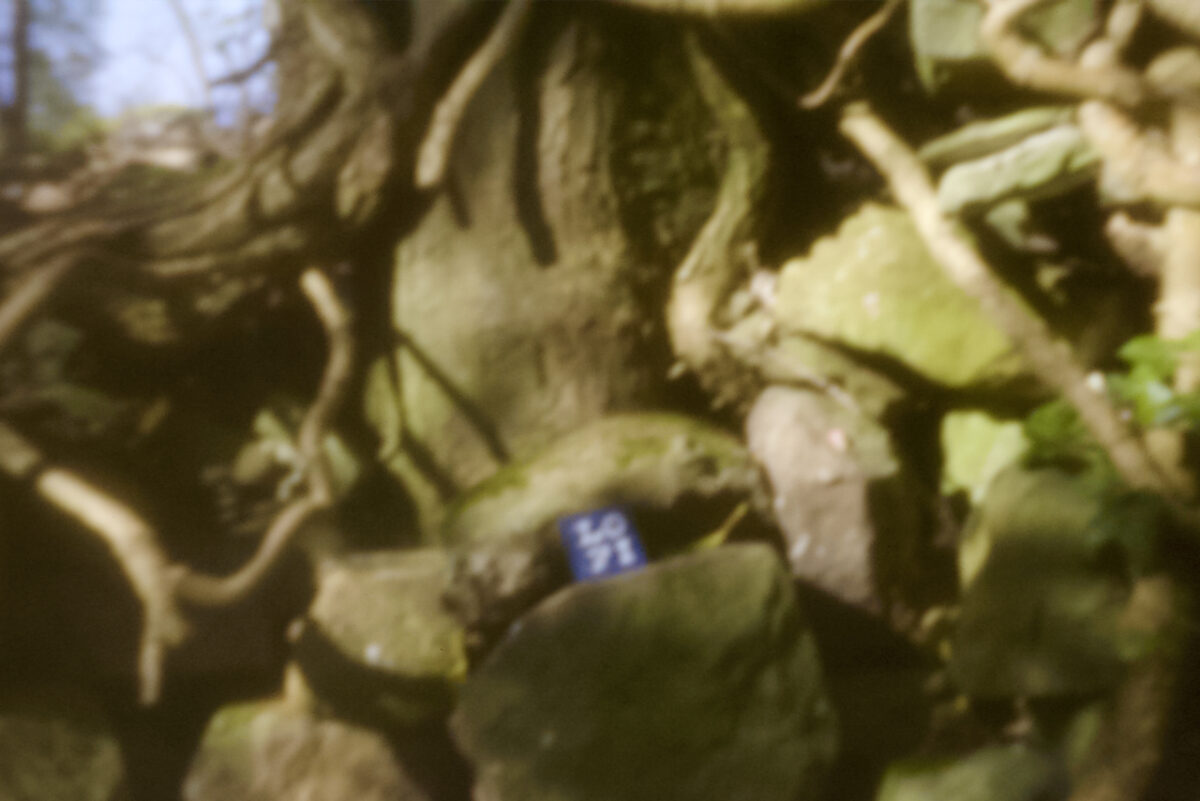
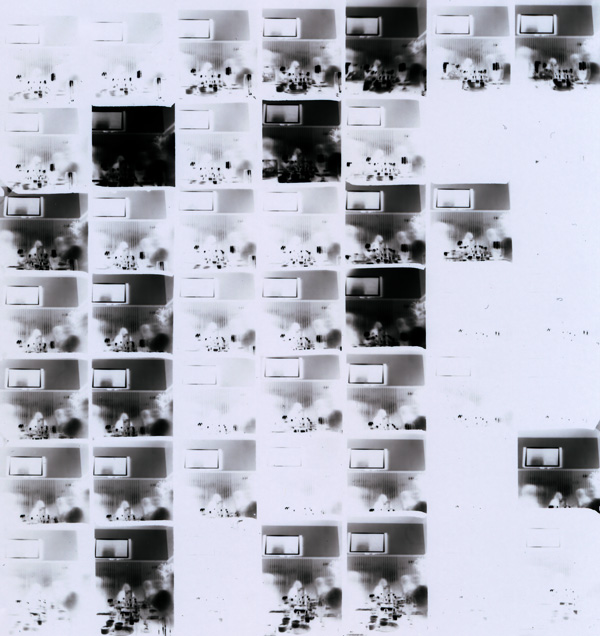
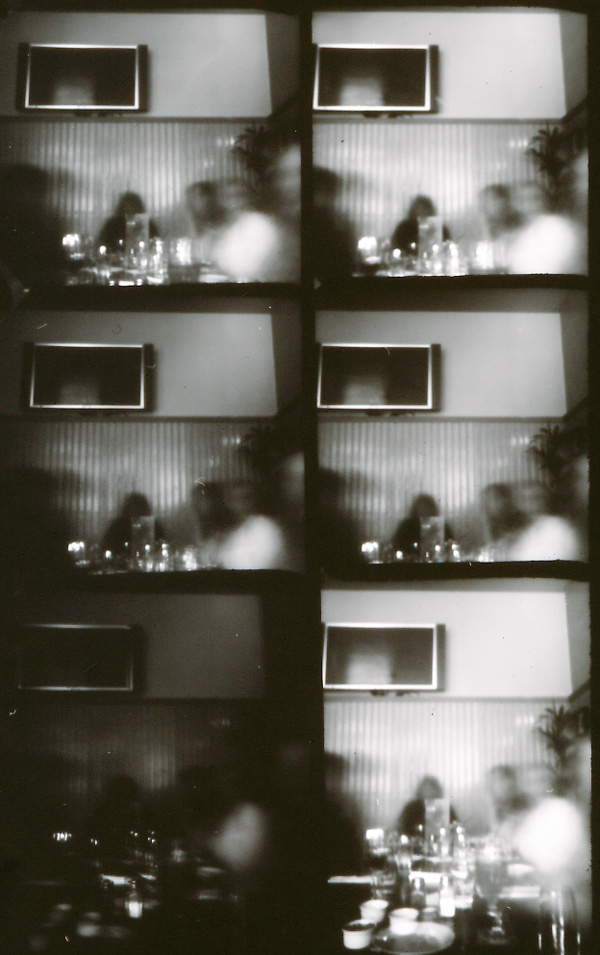
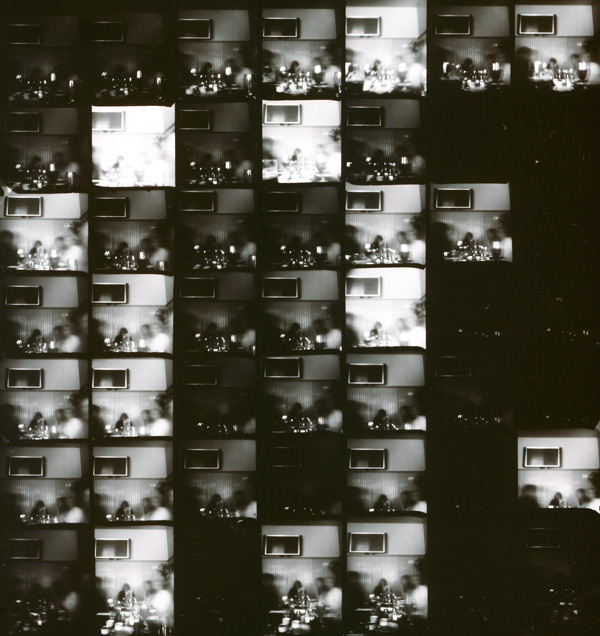
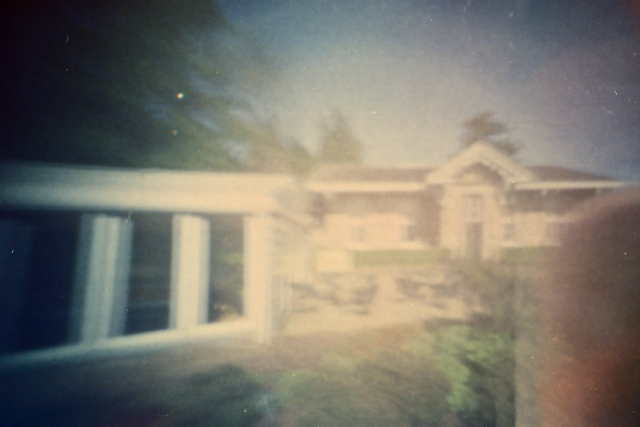
We processed our own at Stills and here are some of the results from the group:

matchboxx6


WPPD 2016 – Pinhole Grid Group Shot

Lunch time group shot taken at the Orchard Bar with a grid pinhole camera.

The negative.
wwpdlunch
And a detail from the positive. (Need to work on propping angles!)

wwpd2016lunchdetail

To make a grid pinhole camera you will need

A shallow lightproof box made of an outer and inner tray that close one over the other – such as a 10×8 paper box (35mm deep).
Some card to make the grid.
Some black card to make a ‘shutter’.
Good quality tinfoil.
A hole punch or sharp knife.
A needle of suitable dimension to make the pinholes.
Masking/re-positionable tape.
B&W paper the size of the grid.

Do some simple pinhole maths –
Focal length of lens (the depth of box) = (diameter pinhole) X (diameter pinhole) X 750
√(35/750) = 0.21 (~ A size 14 beading needle was the closest size to hand.)

Decide how many holes to have in the grid (7×7 in the example at 25mm apart). Cut strips of card to the hight of the box and to either the length or width of the inner tray (6 of each for the example). Measure the centre, then mark where the card will intersect (every 25mm in this case – starting with 12.5mm on each side of the centre mark). Cut slots halfway up each intersection mark (like a wide toothed comb). Slot the card strips together to form the grid.
Put the grid into the inner tray and find the centre of each square – punch a hole 3-5mm in diameter in each. Keep the grid in place by taping the corners if it is loose.

Cover the outside of the inner tray with foil. Poke a hole in the foil in the centre of each punched hole using the needle.

Make a ‘shutter’ from a piece of card the same size as the tinfoil covered side of the box and use some tape to keep it closed.

Load the camera with paper in a dark bag or darkroom. Place the emulsion side of the paper against the grid and the outer tray of the box over.

gridexampleMake the exposure by propping the box on a steady surface and un-taping the shutter.

The camera pictured is f165, the paper for the group shot was Ilford IV RC (~ISO 100) and was exposed for 4 minutes 38 seconds.

wwpd lunch positive
The Positive