Pinhole Day Challenge – Still Life

Many thanks to everyone who sent work in.

The winner is Graeme Pow! Some book tokens for Beyond Words are winging their way to you.

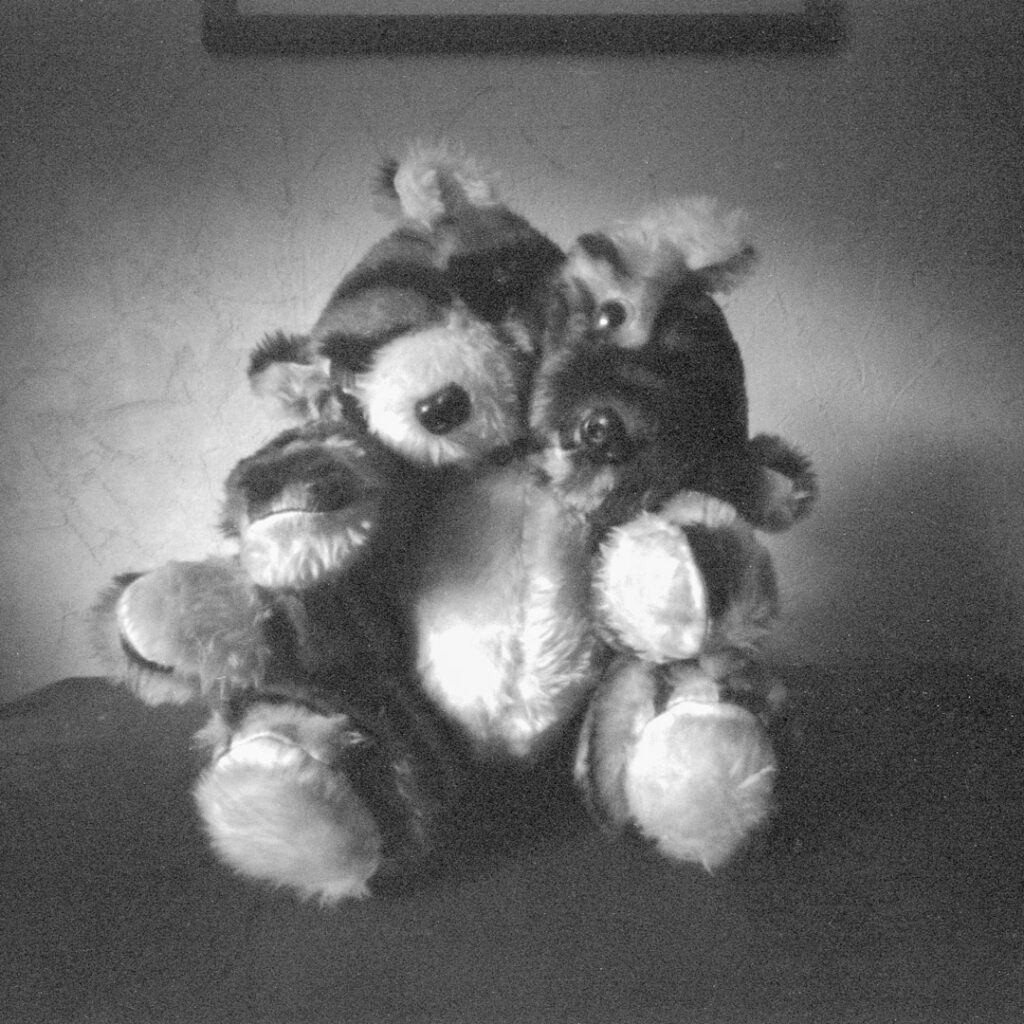
Beeblebear by G.Pow

…reminds me of Lovecraft-ian horror, juxtaposed with childhood innocence… well composed and lit.

The Judge

Honourable mention to Ali Millar .

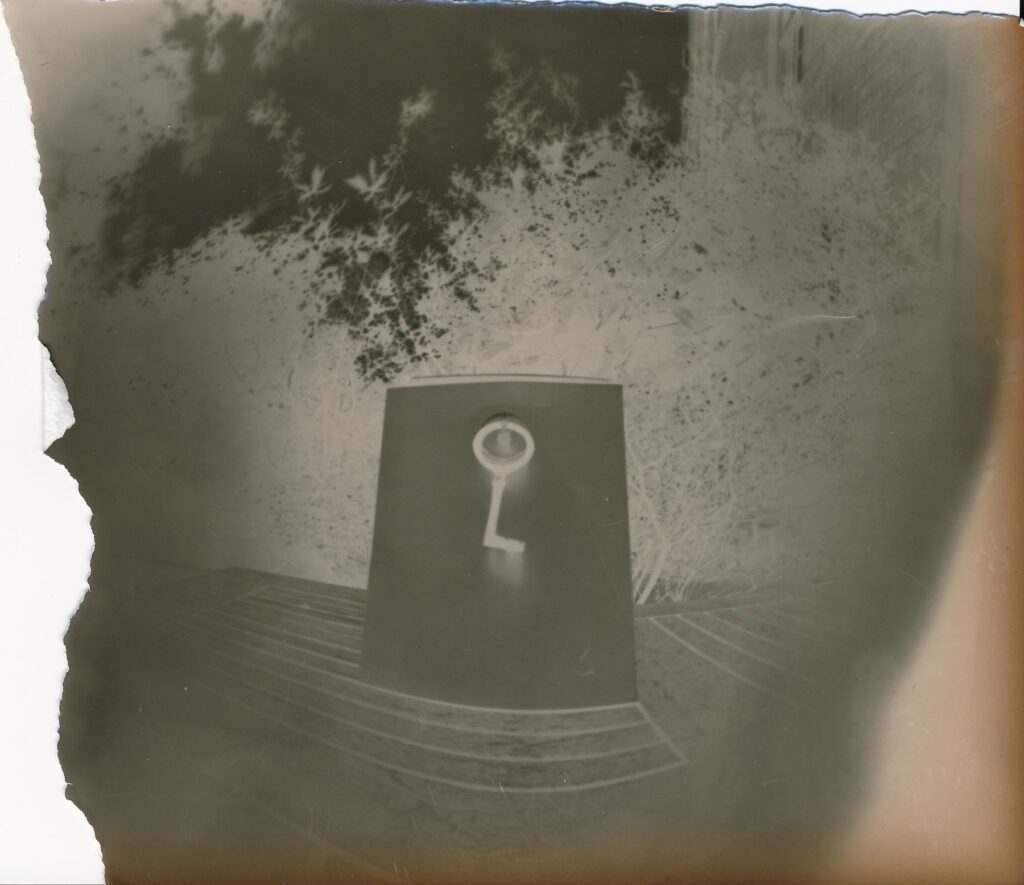
By Ali Millar, 2020

A portal to another world – a sharp and exciting projection.

The Judge

Let There Be Light – Part 1

THE GALLERY IS OPEN (Click to enter)

As we celebrate all things pinhole photography in the month leading up to Worldwide Pinhole Photography Day on the Sunday the 26th of April our exhibition opens online! New work will be added each day.

Let There Be Light is inspired by the motto carved above Edinburgh Central Library‘s main doors. Carnegie insisted this was placed above the entrance to every library he funded and the motto is as suitable for illumination through learning as it is for photography, a medium designed to record light.

While we are sad that our photographic prints can not be viewed as physical objects at this time we hope to bring them to you at a later date as Part 2 of this exhibition, which is tentatively scheduled for August 2020.

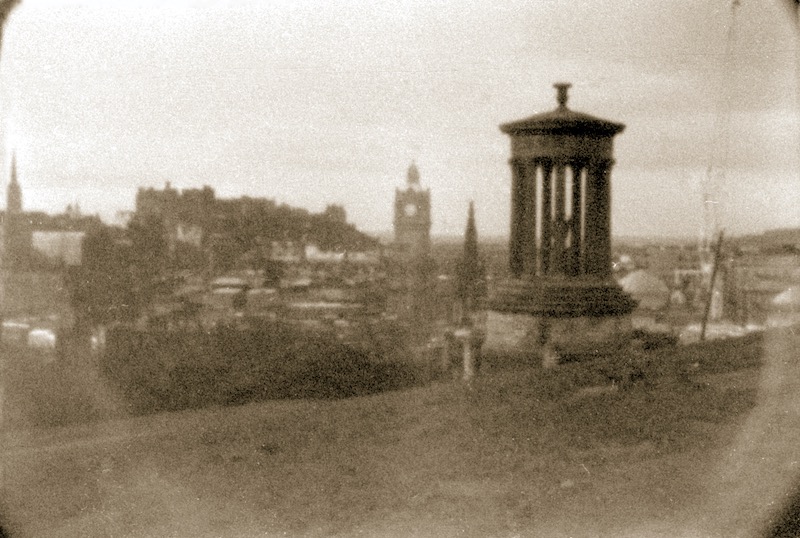
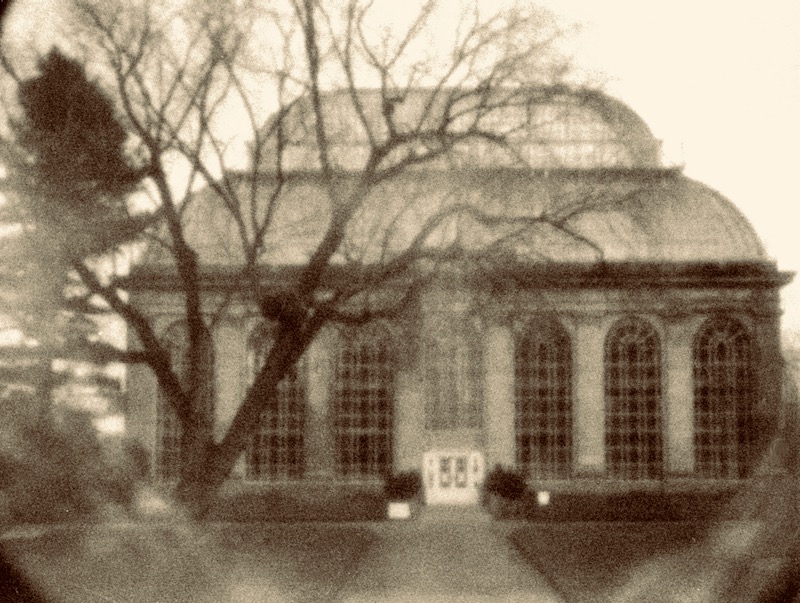
Day 1 features Graeme Lyall who “tried to take photographs with light when it was dark”, working through the winter wind, rain and sleet, to make beautiful portraits of classical Edinburgh.

RBGE Palm House Pinhole 2020 Graeme Lyall

WPPD 2019

Pinhole day 2019 photowalk – links and images.

Thanks to everyone who made it out on Sunday, great weather and company for producing a wide variety of pinhole images.

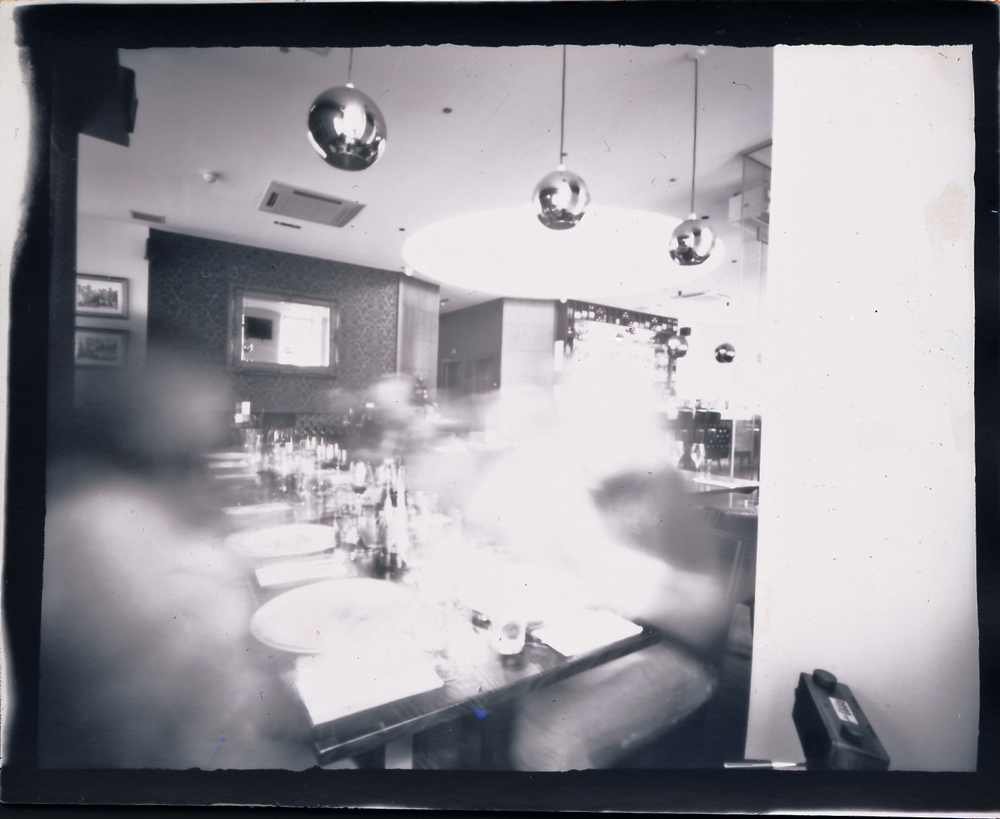
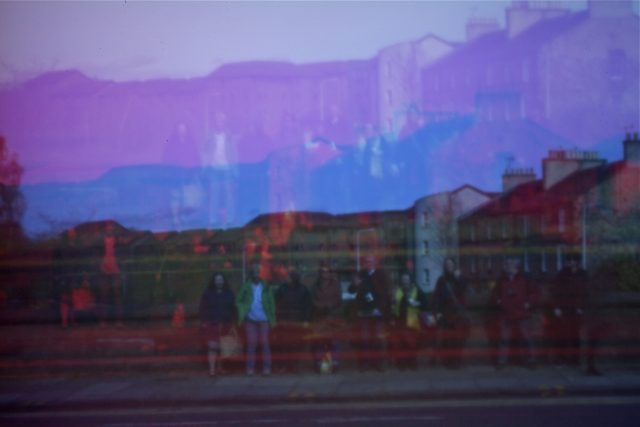
Group shot whilst having lunch at Crolla’s. One hour exposure on Illford MGFB paper in a 5×4 DIY box 0.38mm pinhole camera. E.Robson

Add your image from the day to pinholeday.org. Work must be submitted to them by 31st May to be included in the 2019 on-line exhibition. (Select Edinburgh LoFi in the gallery group option.)

Images added can be found in the Edinburgh LoFi Gallery

Email images in for our website at any time, we all want to see the cameras made and how the images made turned out. DIY instructions, tips and tricks used welcome.

See Ali’s and Donald’s images and cameras on their blogs.

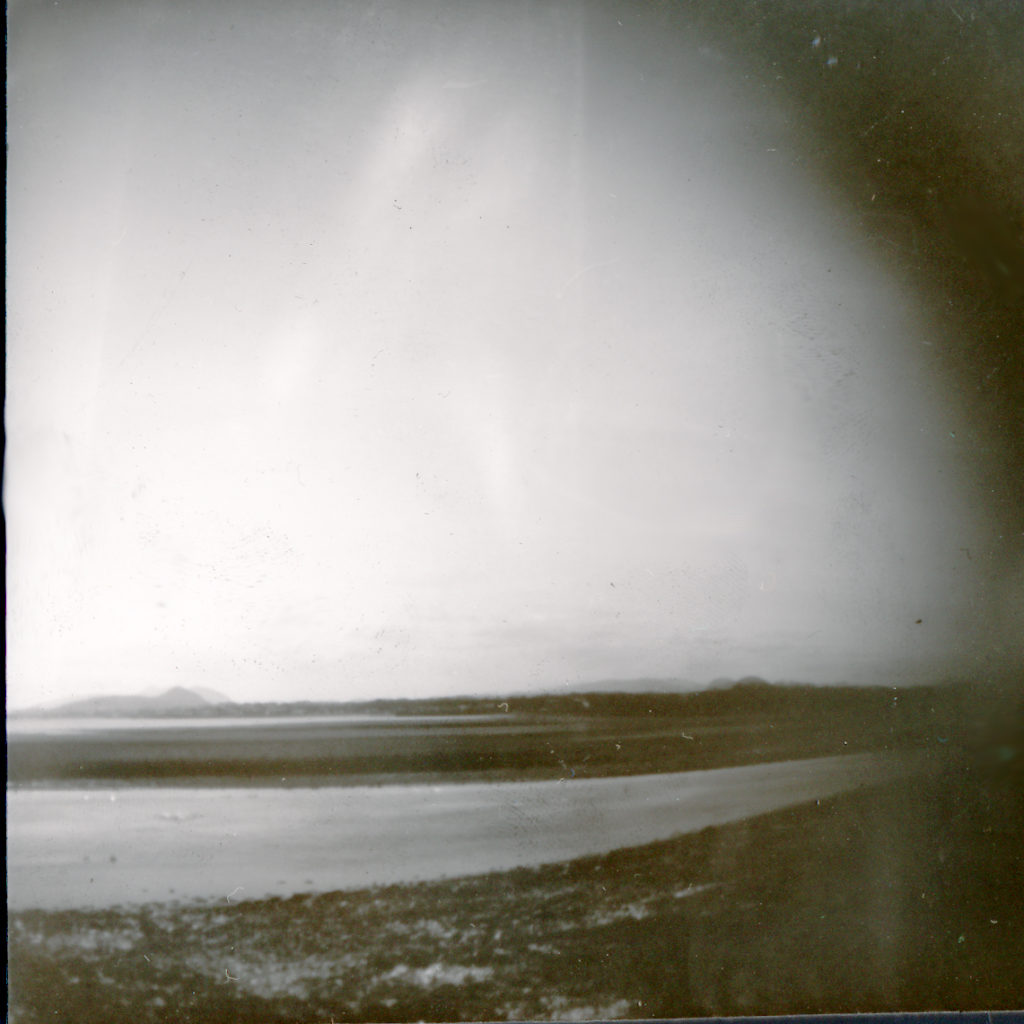
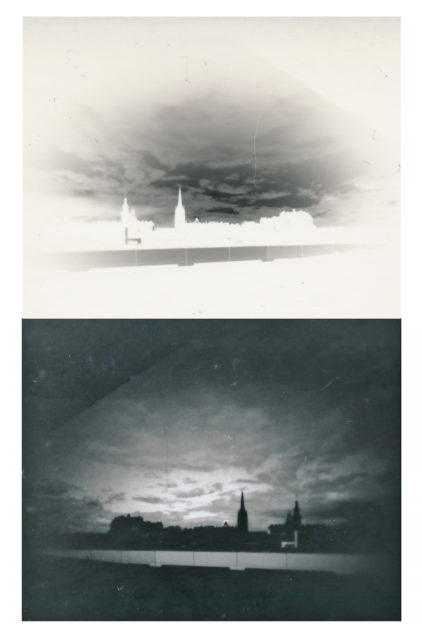
Pinhole Image - From Musselburgh
Pinhole Image – From Musselburgh. Illford MGRC paper in a 5×5 DIY box 0.29mm pinhole camera A. Millar
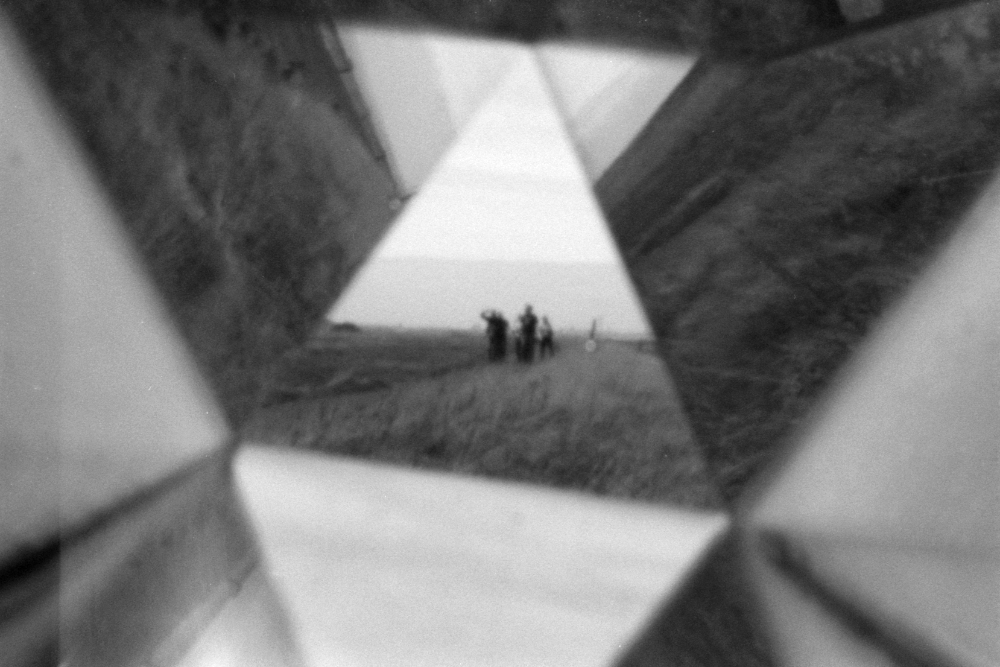
Pinhole Vortoscope, Musselburgh. Kentmere 400 film, Olympus OM1n. D. Tainsh.

And from Graeme via Flickr –

Musselburgh, GALAXY HYPER SPEED Direct Positive Paper, Karlos No.10, G. Pow

Pinhole Day 28th April 2019

This years pinhole photo walk will take us around historic Musselburgh.

We will meet outside the Brunton auditorium (Ladywell Way, Musselburgh EH21 6AA) at 10:30am and meander through the historic and modern parts, also taking in the river and shore. The LRT buses 26, 30 and 44 stop just outside the Brunton.

We will have a stop for coffee at 11:30am and then go on to lunch about 1:30pm.

Everyone is welcome and we will have plenty of spare cameras and advice for first time pinhole photographers. Please email if you have any questions.

Check out our other pinhole photography posts for inspiration and DIYs.

From pinhole day 2018

WPPD 2018 – Pinhole Day Gallery

The results of those from the group who have submitted to pinholeday.org can be found in the Edinburgh LoFi Gallery
Work must be submitted to them by 31st May to be included in the 2018 on-line exhibition. (Select Edinburgh LoFi in the gallery group option.)
Email images in for our website at any time, we all want to see the cameras made and how the images made turned out. DIY instructions, tips and tricks welcome.
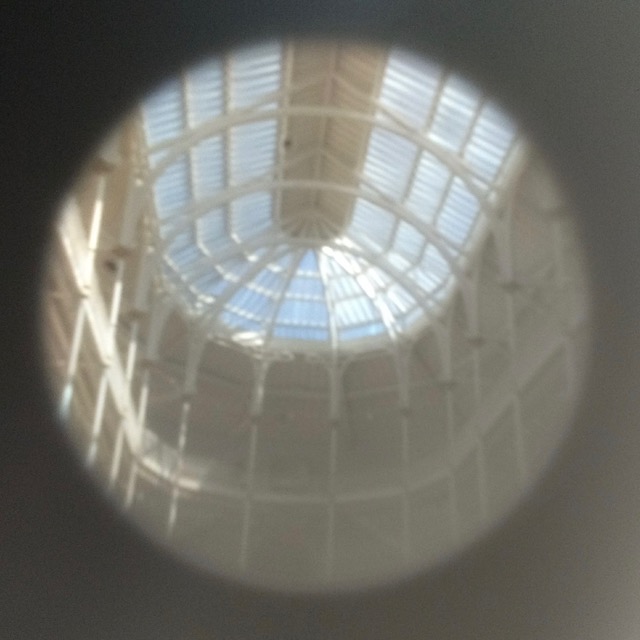
National Museum of Scotland Pinhole of Victorian Glass Roof

WPPD 2017 – Pinhole Day Gallery

The results of those from the group who have submitted to pinholeday.org can be found in the Edinburgh LoFi Gallery
Work must be submitted to them by 31st May to be included in the 2017 on-line exhibition. (Select Edinburgh LoFi in the gallery group option.)
Email images in for our website at any time, we all want to see the cameras made and how the images made turned out. DIY instructions, tips and tricks welcome.

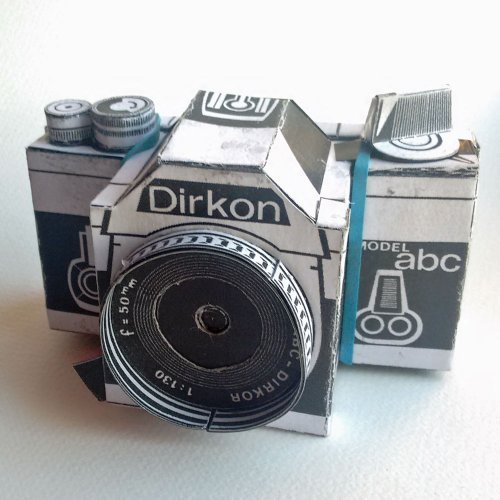
Dirkon paper pinhole camera

WPPD 2016 – Pinhole Day Gallery

The results of those from the group who have submitted to pinholeday.org can be found in the Edinburgh LoFi Gallery
Work must be submitted to them by 31st May to be included in the 2016 on-line exhibition. (Select Edinburgh LoFi in the gallery group option.)
Email images in for our website at any time, we all want to see the cameras made and how the images made turned out. DIY instructions, tips and tricks welcome.

WPPD 2016 – Matchbox Pinhole

A simple 35mm film camera can be made from just some card and tape.
Matchboxpinhole1

To make a matchbox style pinhole camera you will need

A piece of A4 card – preferably black. (Paint black or cover with black tape if not.)
Download the PDF template and print.
Scissors.
Clear tape.
Black electrical tape.
Good quality tinfoil.
A hole punch or sharp knife.
A needle of suitable dimension to make the pinholes.
Masking/re-positionable tape.
A 35mm roll of film.
An 35mm used film spool or sacrificial roll.

Do some simple pinhole maths –
Focal length of lens (the depth of matchbox) = (diameter pinhole) X (diameter pinhole) X 750
√(15/750) = 0.20mm (~ A size 14 beading needle was the closest size to hand.)

Start by tracing the template onto black card and cutting out.
Cut the window for the film and the window for the pinhole.
Fold along the score lines.

Take the piece of tinfoil and make the pinhole using the needle. Use tape to stick it to the inside of the box so the pinhole is in the center of the pinhole window you have made.

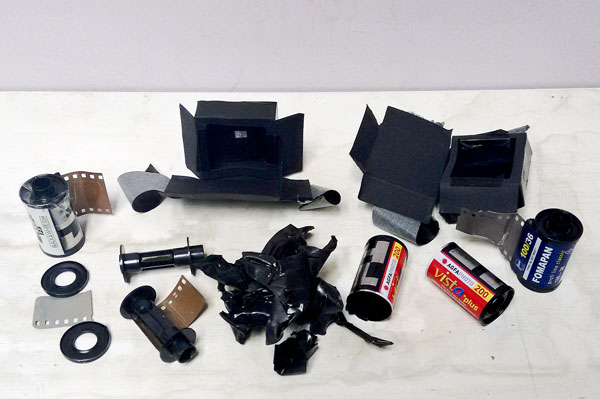
Take the new roll of film and attach the film using clear tape to the used film spool. You may find it easiest to just sacrifice a film (Agfa £1 from Poundland!) by un-spooling it until almost the end, cutting off the film to leave a few centimeters sticking out. You can then tape the end of the ‘good’ film to the tail. It is also possible to reassemble a used spool if care was taken prising it apart. Ensure the films are together straight or you will have problems winding on. Wind the film in until you can not see the tape. Only try to expose the film strip where you will be putting the ‘matchbox’. (To use a real matchbox thread the film through then attach to other spool and put the drawer back in after cutting a window for the film in the bottom).

Put the side labelled ‘back’ at the back of the film, use some re-positionable tape to get the spools lined up.
Fold the box round so the film window sits in front of the film. Use some re-positionable tape to get the box squared up with the spools.
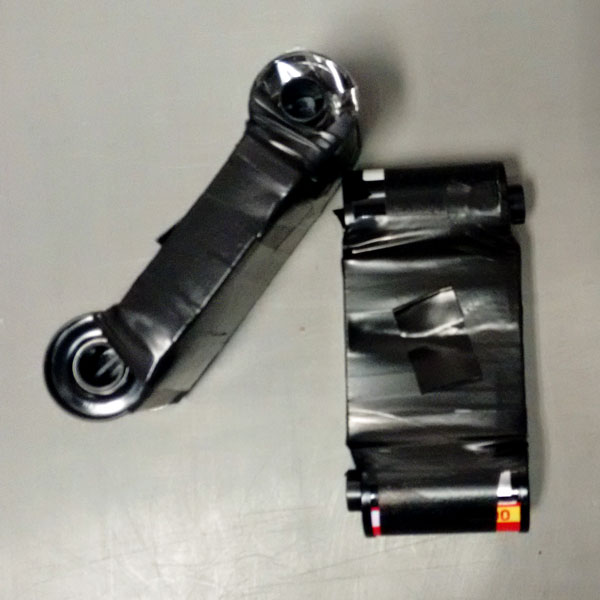
Use black electricians tape wrapped around everything (except the pinhole and the moving parts of the film spools!) to light proof.
wrapped

Wind the film on into the take up spool using a lolly stick or key in the top of the spool. 2 full rotations per frame at first, decreasing to 1 as you get towards the end ( the film taken up expands the diameter and therefore the length moved at each turn). If the film sticks use the stick/key to loosen the other spool and then take up the slack with the other.

Make a shutter for the pinhole with a piece of black electrical tape.

To take photos wind the film on. Brace the camera on a wall/table/post if possible to keep it steady and peel off the tape. Replace the tape when finished. (For very short exposures peel the tape and replace it with a finger. Expose for shot then put your finger back and ease the tape back into place as you move your finger out the way.)

When the film is finished wind it back into the original cannister and cut the spool from the camera. Make sure none of the tape is left on the film to be processed.
matchbox

You may wish to warn the film processor that the frames are likely to be unevenly spaced. Most will be happy to return the film uncut for scanning.

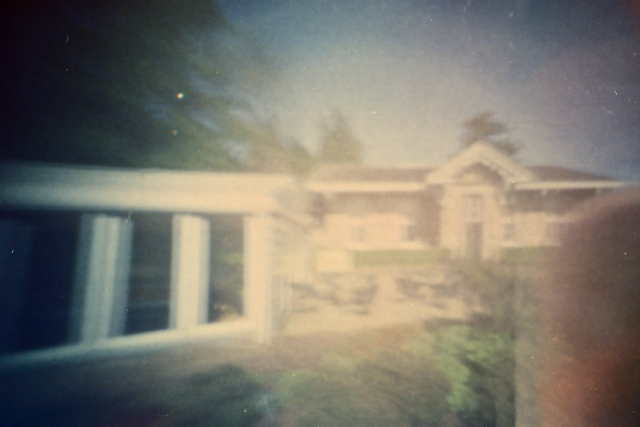
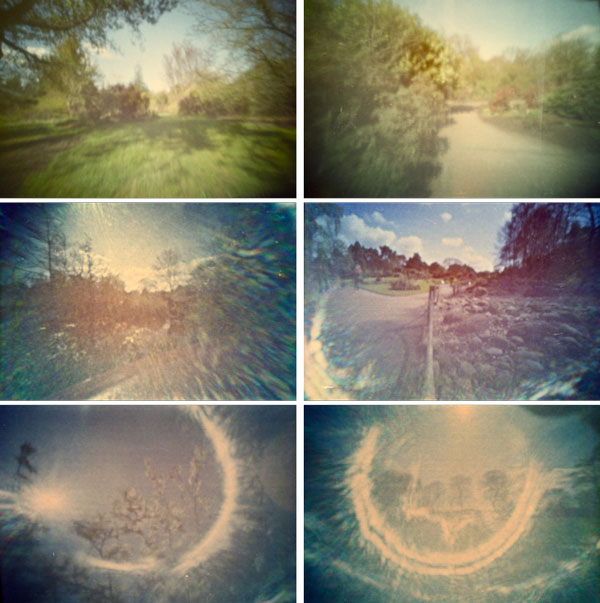
We processed our own at Stills and here are some of the results from the group:
matchboxx6