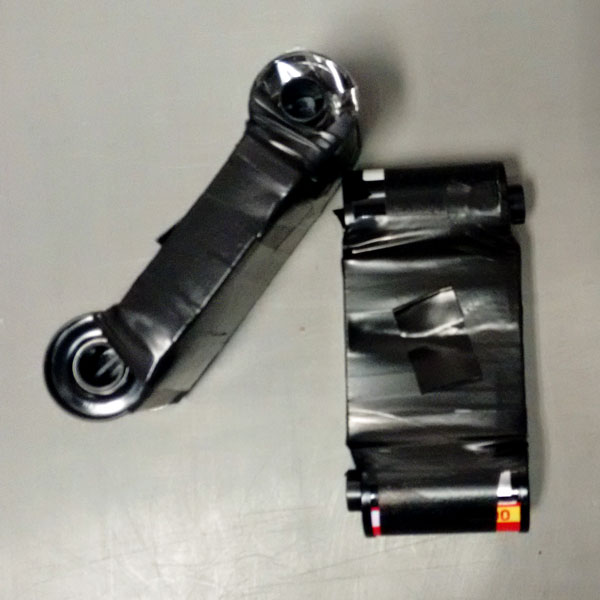
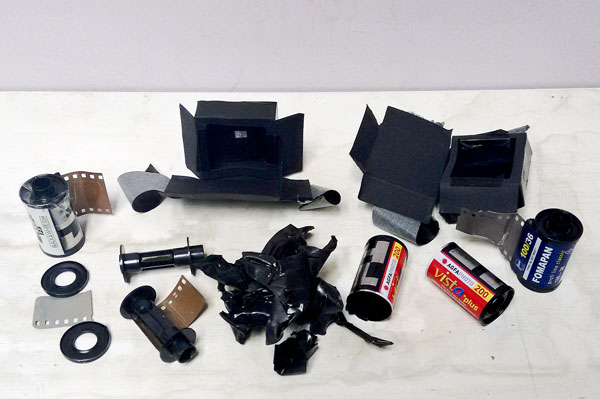
A simple 35mm film camera can be made from just some card and tape.

To make a matchbox style pinhole camera you will need
A piece of A4 card – preferably black. (Paint black or cover with black tape if not.)
Download the PDF template and print.
Scissors.
Clear tape.
Black electrical tape.
Good quality tinfoil.
A hole punch or sharp knife.
A needle of suitable dimension to make the pinholes.
Masking/re-positionable tape.
A 35mm roll of film.
An 35mm used film spool or sacrificial roll.
Do some simple pinhole maths –
Focal length of lens (the depth of matchbox) = (diameter pinhole) X (diameter pinhole) X 750
√(15/750) = 0.20mm (~ A size 14 beading needle was the closest size to hand.)
Start by tracing the template onto black card and cutting out.
Cut the window for the film and the window for the pinhole.
Fold along the score lines.
Take the piece of tinfoil and make the pinhole using the needle. Use tape to stick it to the inside of the box so the pinhole is in the center of the pinhole window you have made.
Take the new roll of film and attach the film using clear tape to the used film spool. You may find it easiest to just sacrifice a film (Agfa £1 from Poundland!) by un-spooling it until almost the end, cutting off the film to leave a few centimeters sticking out. You can then tape the end of the ‘good’ film to the tail. It is also possible to reassemble a used spool if care was taken prising it apart. Ensure the films are together straight or you will have problems winding on. Wind the film in until you can not see the tape. Only try to expose the film strip where you will be putting the ‘matchbox’. (To use a real matchbox thread the film through then attach to other spool and put the drawer back in after cutting a window for the film in the bottom).
Put the side labelled ‘back’ at the back of the film, use some re-positionable tape to get the spools lined up.
Fold the box round so the film window sits in front of the film. Use some re-positionable tape to get the box squared up with the spools.
Use black electricians tape wrapped around everything (except the pinhole and the moving parts of the film spools!) to light proof.

Wind the film on into the take up spool using a lolly stick or key in the top of the spool. 2 full rotations per frame at first, decreasing to 1 as you get towards the end ( the film taken up expands the diameter and therefore the length moved at each turn). If the film sticks use the stick/key to loosen the other spool and then take up the slack with the other.
Make a shutter for the pinhole with a piece of black electrical tape.
To take photos wind the film on. Brace the camera on a wall/table/post if possible to keep it steady and peel off the tape. Replace the tape when finished. (For very short exposures peel the tape and replace it with a finger. Expose for shot then put your finger back and ease the tape back into place as you move your finger out the way.)
When the film is finished wind it back into the original cannister and cut the spool from the camera. Make sure none of the tape is left on the film to be processed.

You may wish to warn the film processor that the frames are likely to be unevenly spaced. Most will be happy to return the film uncut for scanning.
We processed our own at Stills and here are some of the results from the group:
