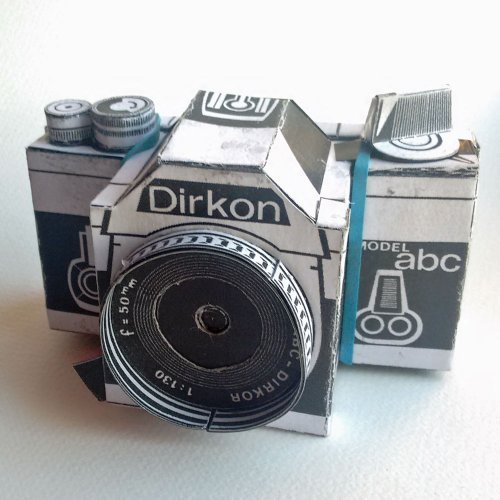
The results of those from the group who have submitted to pinholeday.org can be found in the Edinburgh LoFi Gallery
Work must be submitted to them by 31st May to be included in the 2018 on-line exhibition. (Select Edinburgh LoFi in the gallery group option.)
Email images in for our website at any time, we all want to see the cameras made and how the images made turned out. DIY instructions, tips and tricks welcome.
Category: Resources
December Film Swap
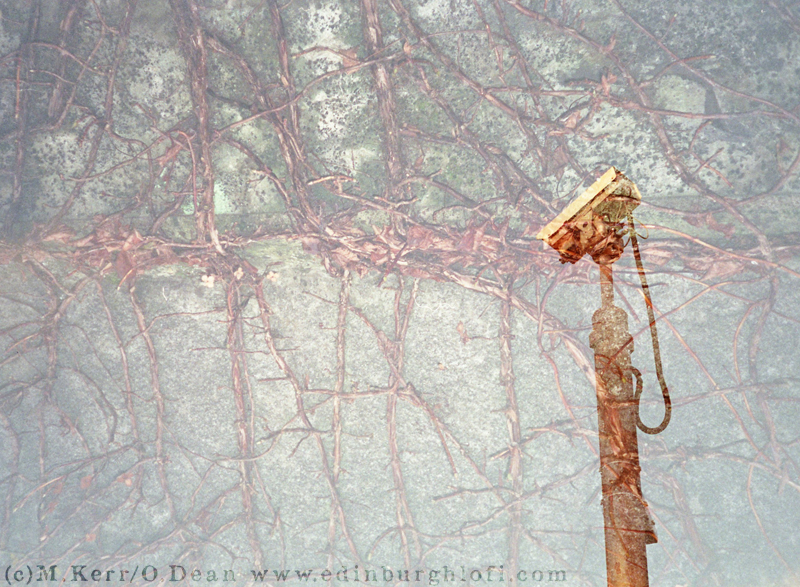
Bring along a roll of film you have shot to the Tuesday meeting on the 12th and swap with another member to create a mysterious set of double exposures!
WPPD 2017 – Pinhole Day Gallery
The results of those from the group who have submitted to pinholeday.org can be found in the Edinburgh LoFi Gallery
Work must be submitted to them by 31st May to be included in the 2017 on-line exhibition. (Select Edinburgh LoFi in the gallery group option.)
Email images in for our website at any time, we all want to see the cameras made and how the images made turned out. DIY instructions, tips and tricks welcome.
WPPD 2016 – Pinhole Day Gallery
The results of those from the group who have submitted to pinholeday.org can be found in the Edinburgh LoFi Gallery
Work must be submitted to them by 31st May to be included in the 2016 on-line exhibition. (Select Edinburgh LoFi in the gallery group option.)
Email images in for our website at any time, we all want to see the cameras made and how the images made turned out. DIY instructions, tips and tricks welcome.
Salt Prints and The Edinburgh Calotype Club
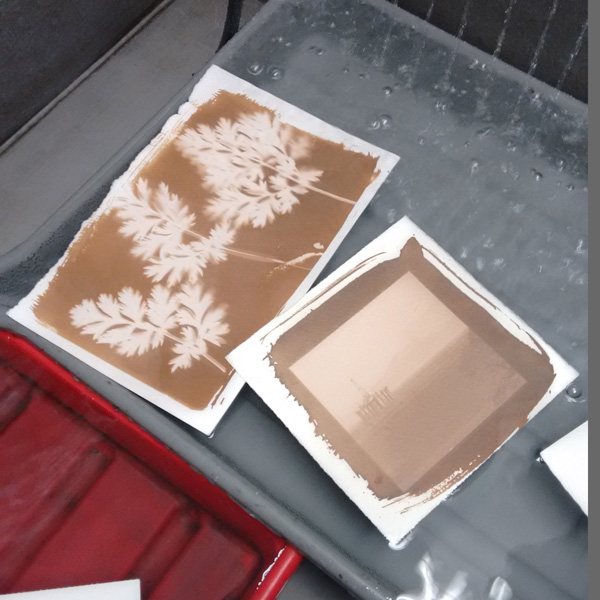
Edinburgh has a long history of Salt Prints. Ranging back to the late 1830’s Hill and Adamson used the technique to produce prints using Talbot’s process. One of their subjects was the fishing village of Newhaven.
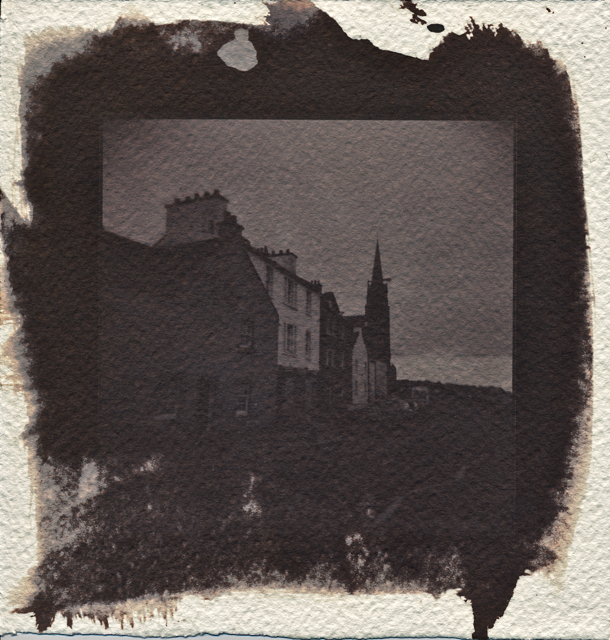
Last summer Edinburgh LoFi had an Extraordinary Meeting of the Edinburgh Calotype Club at Newhaven, to pay homage to the first photographic society in the world.
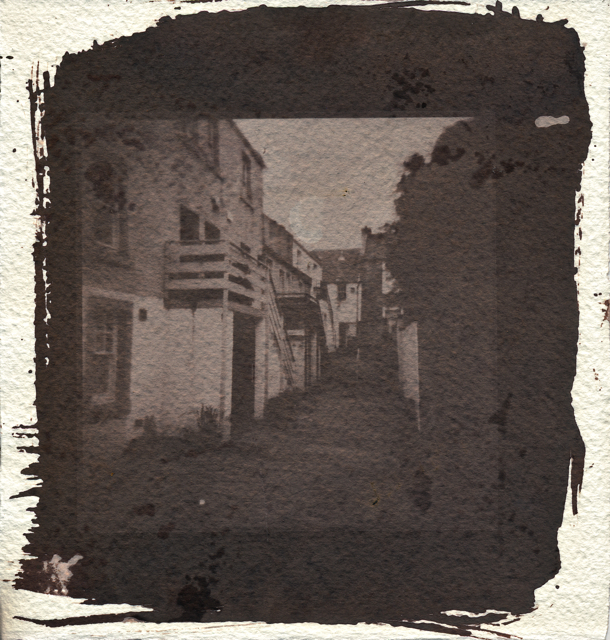
Some of the negatives have now been made into Salt Prints and a Japanese bound album has been made to hold them.
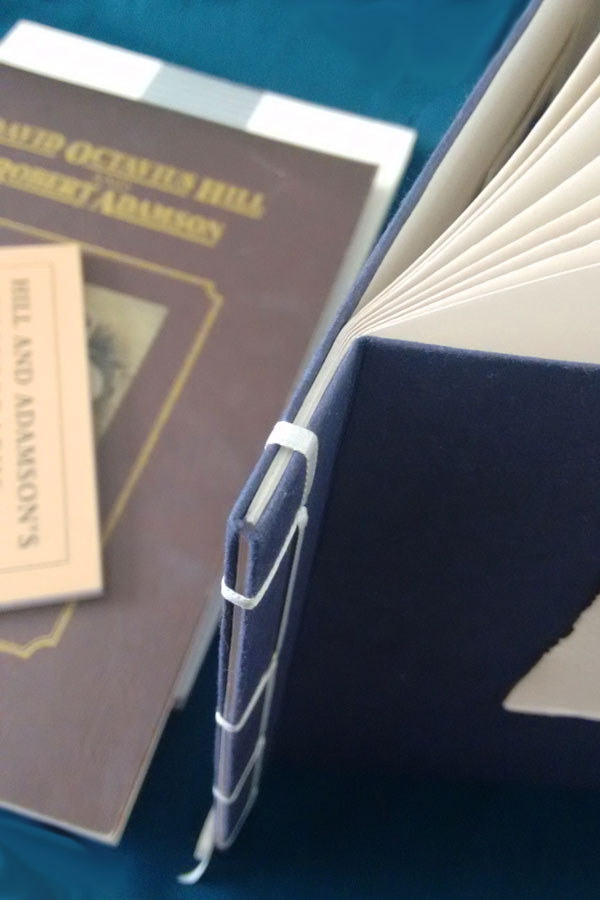
Salt Prints – The Basics
Salt Printing involves 4 stages –
- Salting the paper.
- Sensitising the paper.
- Exposing the image onto the paper.

- Fixing the image onto the paper.
Please be aware that the chemicals used are dangerous, ensure that you are familiar with and use all safety precautions necessary.
Further reading –
- The Salt Print Manual by Ellie Young
- The Book of Alternative Photographic Processes by Christopher James
- Spirits of Salts: Working Guide to Old Photographic Processes by Randall Webb
WPPD 2016 – Matchbox Pinhole
A simple 35mm film camera can be made from just some card and tape.
To make a matchbox style pinhole camera you will need
A piece of A4 card – preferably black. (Paint black or cover with black tape if not.)
Download the PDF template and print.
Scissors.
Clear tape.
Black electrical tape.
Good quality tinfoil.
A hole punch or sharp knife.
A needle of suitable dimension to make the pinholes.
Masking/re-positionable tape.
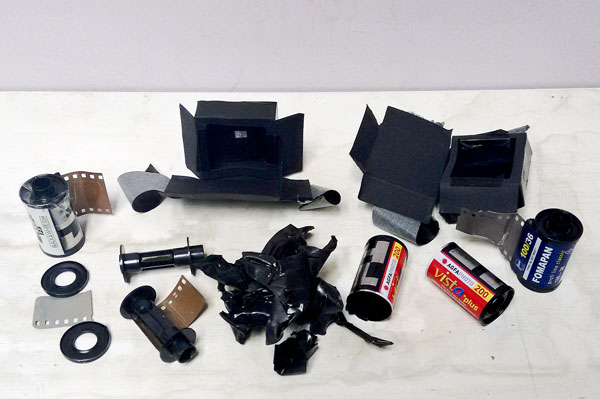
A 35mm roll of film.
An 35mm used film spool or sacrificial roll.
Do some simple pinhole maths –
Focal length of lens (the depth of matchbox) = (diameter pinhole) X (diameter pinhole) X 750
√(15/750) = 0.20mm (~ A size 14 beading needle was the closest size to hand.)
Start by tracing the template onto black card and cutting out.
Cut the window for the film and the window for the pinhole.
Fold along the score lines.
Take the piece of tinfoil and make the pinhole using the needle. Use tape to stick it to the inside of the box so the pinhole is in the center of the pinhole window you have made.
Take the new roll of film and attach the film using clear tape to the used film spool. You may find it easiest to just sacrifice a film (Agfa £1 from Poundland!) by un-spooling it until almost the end, cutting off the film to leave a few centimeters sticking out. You can then tape the end of the ‘good’ film to the tail. It is also possible to reassemble a used spool if care was taken prising it apart. Ensure the films are together straight or you will have problems winding on. Wind the film in until you can not see the tape. Only try to expose the film strip where you will be putting the ‘matchbox’. (To use a real matchbox thread the film through then attach to other spool and put the drawer back in after cutting a window for the film in the bottom).
Put the side labelled ‘back’ at the back of the film, use some re-positionable tape to get the spools lined up.
Fold the box round so the film window sits in front of the film. Use some re-positionable tape to get the box squared up with the spools.
Use black electricians tape wrapped around everything (except the pinhole and the moving parts of the film spools!) to light proof.
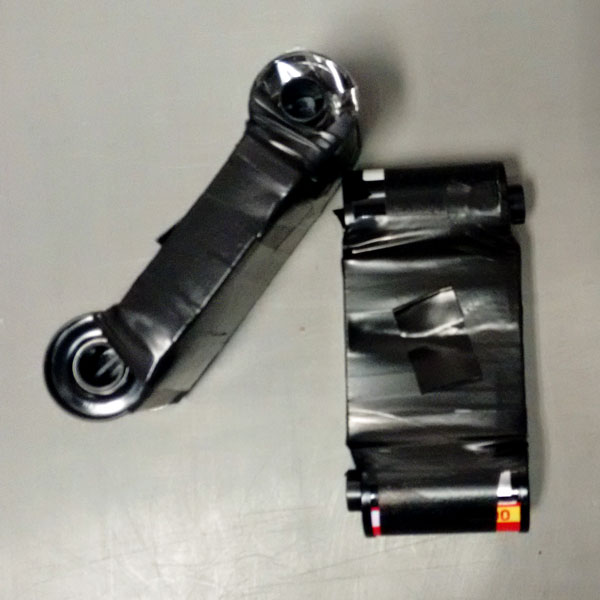
Wind the film on into the take up spool using a lolly stick or key in the top of the spool. 2 full rotations per frame at first, decreasing to 1 as you get towards the end ( the film taken up expands the diameter and therefore the length moved at each turn). If the film sticks use the stick/key to loosen the other spool and then take up the slack with the other.
Make a shutter for the pinhole with a piece of black electrical tape.
To take photos wind the film on. Brace the camera on a wall/table/post if possible to keep it steady and peel off the tape. Replace the tape when finished. (For very short exposures peel the tape and replace it with a finger. Expose for shot then put your finger back and ease the tape back into place as you move your finger out the way.)
When the film is finished wind it back into the original cannister and cut the spool from the camera. Make sure none of the tape is left on the film to be processed.
You may wish to warn the film processor that the frames are likely to be unevenly spaced. Most will be happy to return the film uncut for scanning.
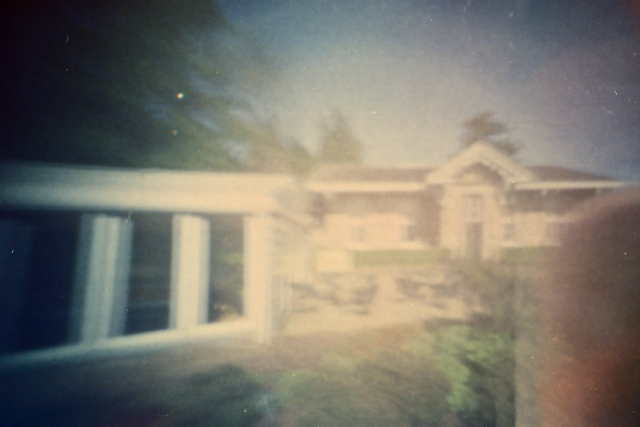
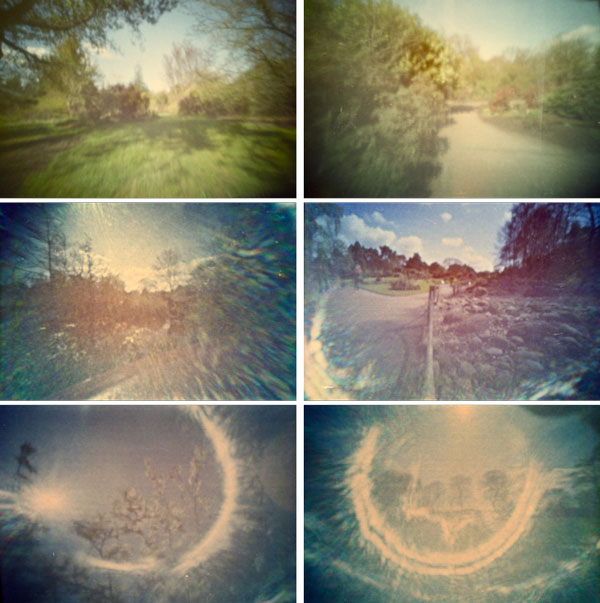
We processed our own at Stills and here are some of the results from the group:
WPPD 2016 – Pinhole Grid Group Shot
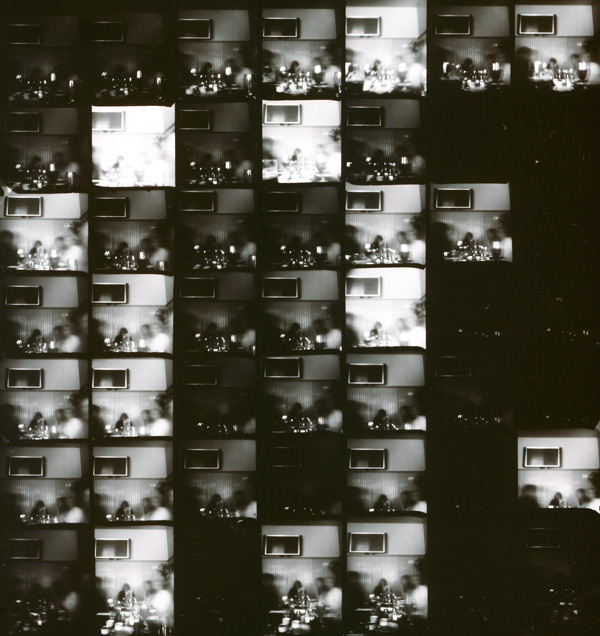
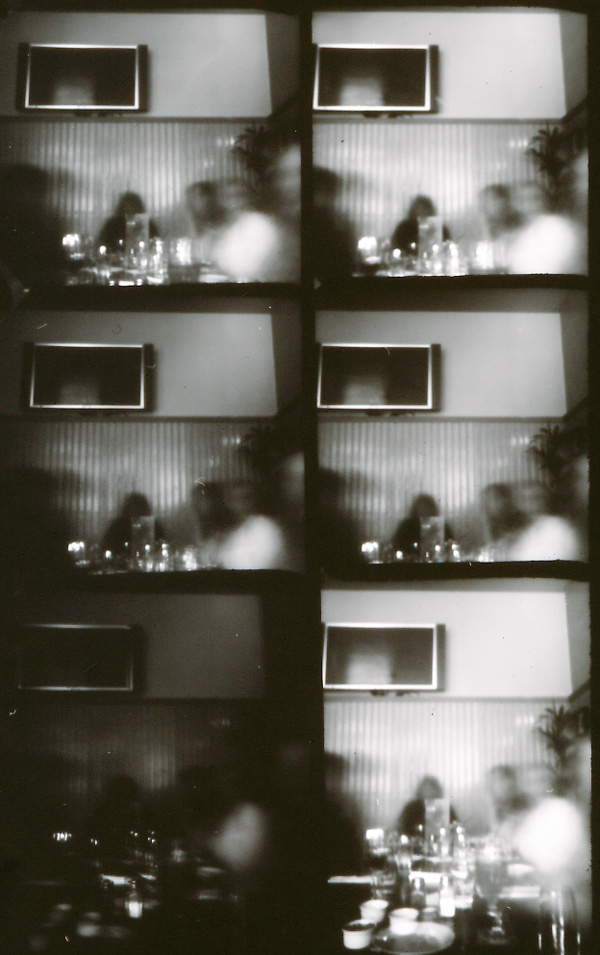
Lunch time group shot taken at the Orchard Bar with a grid pinhole camera.
The negative.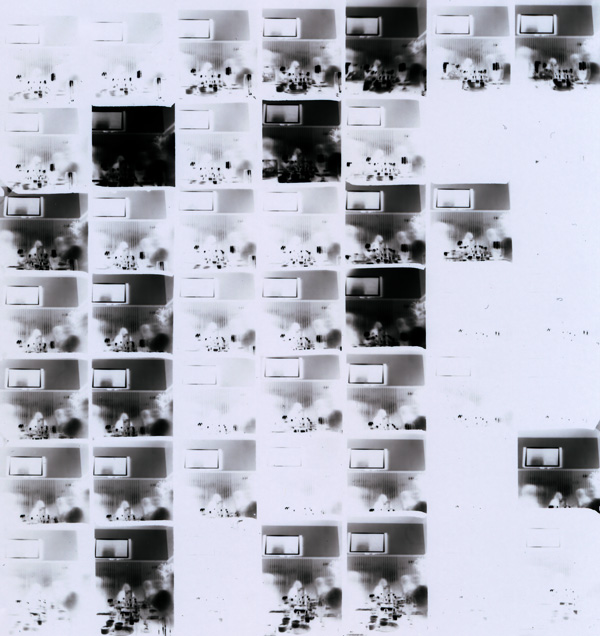
And a detail from the positive. (Need to work on propping angles!)
To make a grid pinhole camera you will need
A shallow lightproof box made of an outer and inner tray that close one over the other – such as a 10×8 paper box (35mm deep).
Some card to make the grid.
Some black card to make a ‘shutter’.
Good quality tinfoil.
A hole punch or sharp knife.
A needle of suitable dimension to make the pinholes.
Masking/re-positionable tape.
B&W paper the size of the grid.
Do some simple pinhole maths –
Focal length of lens (the depth of box) = (diameter pinhole) X (diameter pinhole) X 750
√(35/750) = 0.21 (~ A size 14 beading needle was the closest size to hand.)
Decide how many holes to have in the grid (7×7 in the example at 25mm apart). Cut strips of card to the hight of the box and to either the length or width of the inner tray (6 of each for the example). Measure the centre, then mark where the card will intersect (every 25mm in this case – starting with 12.5mm on each side of the centre mark). Cut slots halfway up each intersection mark (like a wide toothed comb). Slot the card strips together to form the grid.
Put the grid into the inner tray and find the centre of each square – punch a hole 3-5mm in diameter in each. Keep the grid in place by taping the corners if it is loose.
Cover the outside of the inner tray with foil. Poke a hole in the foil in the centre of each punched hole using the needle.
Make a ‘shutter’ from a piece of card the same size as the tinfoil covered side of the box and use some tape to keep it closed.
Load the camera with paper in a dark bag or darkroom. Place the emulsion side of the paper against the grid and the outer tray of the box over.
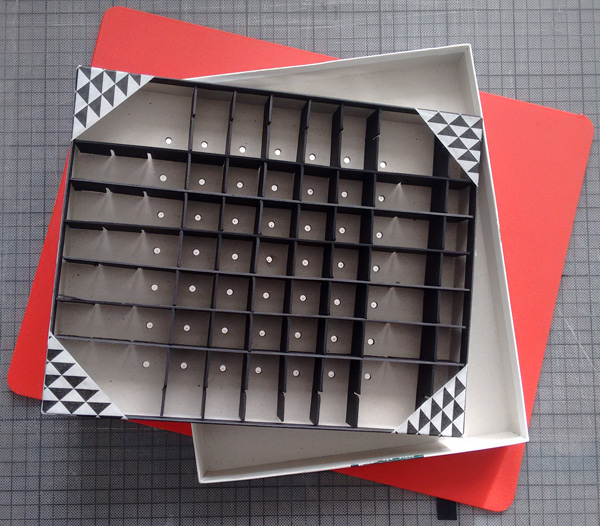 Make the exposure by propping the box on a steady surface and un-taping the shutter.
The camera pictured is f165, the paper for the group shot was Ilford IV RC (~ISO 100) and was exposed for 4 minutes 38 seconds.
